.png)


.png)

Xero is a powerful tool for managing invoices, making it easier to send, receive, and track payments.
To help you make the most of its powerful features, we’ve put together this guide to show you how to efficiently create and manage your invoices, ensuring your invoicing process is smooth and hassle-free.
How to Create and Send an Invoice in Xero
Here’s a step-by-step process for creating and sending invoices, including setting up a payment service to add a "Pay Now" button to your invoices.
Create an Invoice via the Web
In Xero, you can use either the new or classic invoicing features. However, new invoicing will replace classic invoicing on 2 September 2025.
New Invoicing
- Click the quick launch icon (+) from the header and select "Invoice."
- In the "To" field, select or add an existing contact or add a new one. You can view or edit their details by clicking on their name.
- You can click "Add last items" to include items from a previous invoice for that contact or manually enter new item details. Enter the description, quantity, and price, and you can drag and drop items to reorder them as needed.
- Click "Save & close" to save as a draft, or choose "Submit for approval" to fi
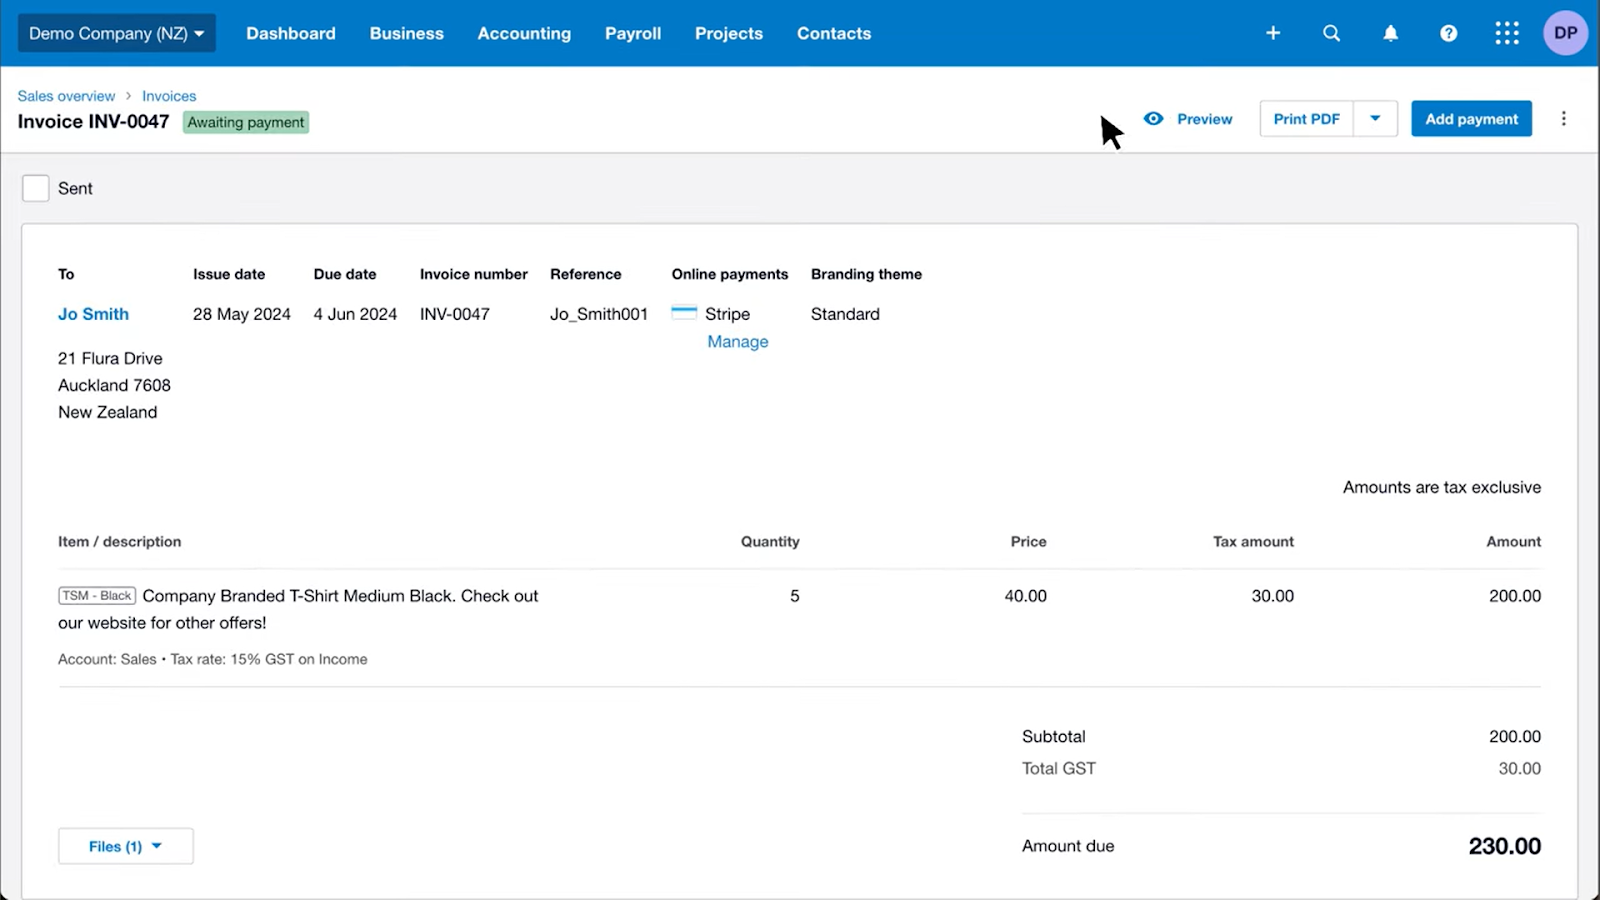
New invoicing offers an enhanced interface with auto-saving features. Invoice details are automatically filled, and you can customize the view by showing or hiding fields.
Classic Invoicing

Classic invoicing requires you to manually enter all the invoice details and click "Save" each time you make a change.
- Click the quick launch icon (+) and select "Invoice."
- Manually enter the customer's name and all relevant invoice details, including due date, description, account, and tax rate. Note that you must fill out these fields to approve the invoice.
- Add items manually and drag and drop lines to reorder them if necessary.
- Click "Save" to save as a draft or "Save & submit for approval" to finalize.
Create an Invoice on iOS or Android
For those who need to manage invoices on the go, Xero’s mobile apps for iOS and Android provide convenient features:
- Tap the “+” icon from the Dashboard and select “Create an invoice.” Alternatively, tap “Options” from a contact and choose “Add New” followed by “Invoice.”
- Fill in the required fields, including who the invoice is for, the date, the due date, and tax fields.
- Tap “Add an item,” then choose “Select Products or Services” for inventory items or “Enter a New Description” for manual entries. Complete the account, tracking, quantity, tax, and price fields.
- Tap “Optional details” to add a reference, branding theme, or change the currency. Attach files if needed and tap “Save” to create a draft invoice.
Set Up a Payment Service
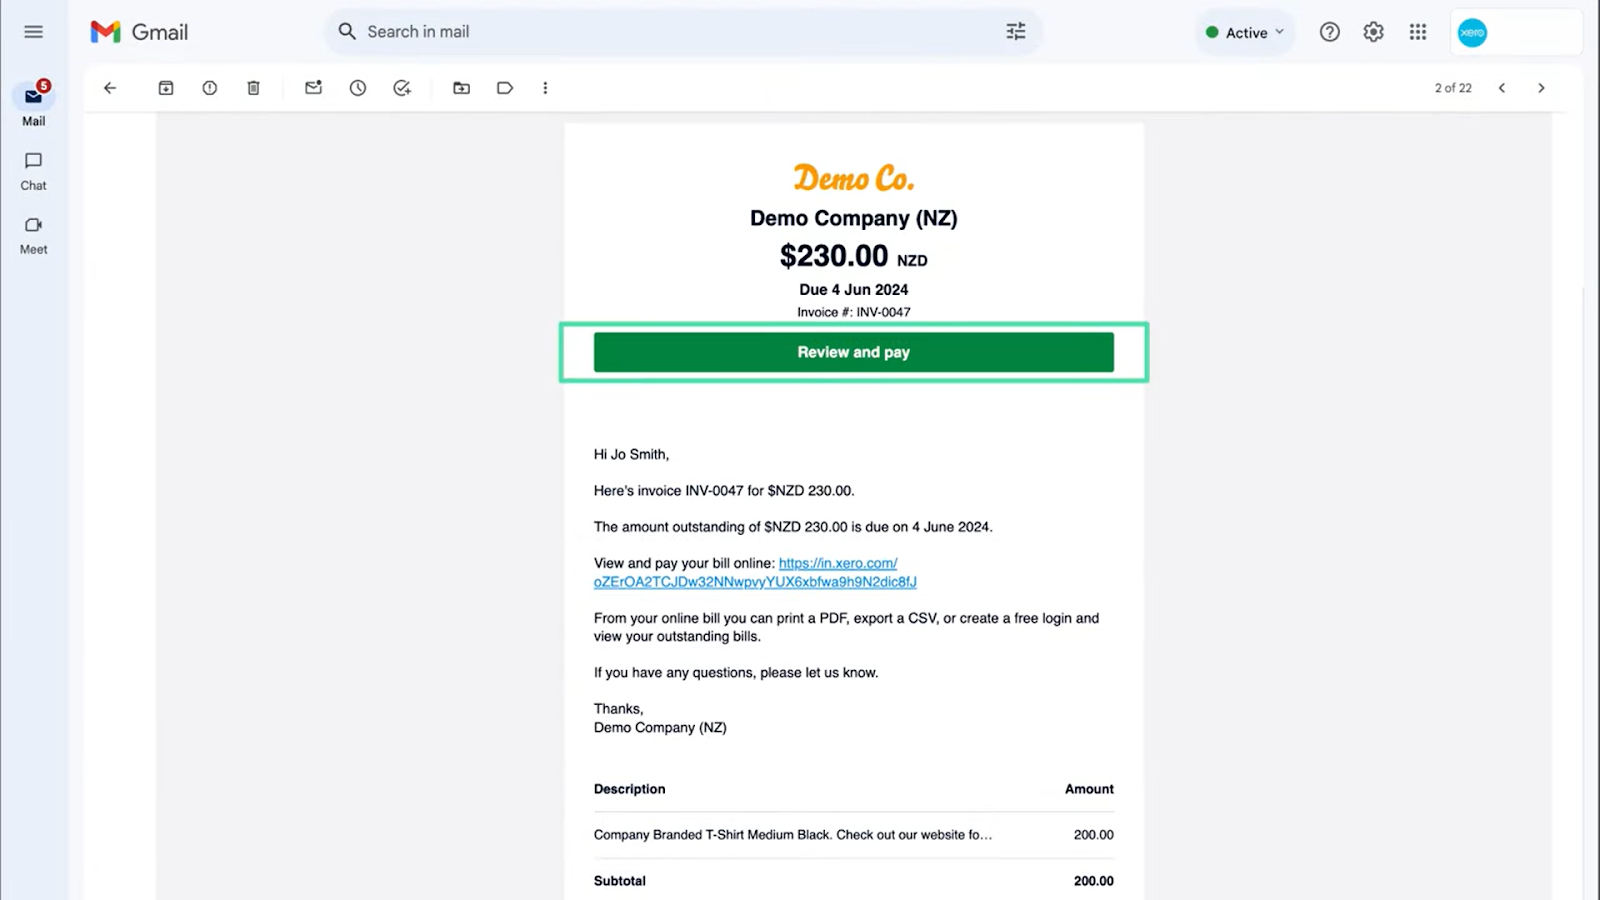
Adding a payment service to your invoices enhances the payment experience by providing a "Pay Now" button for online transactions. Here’s how to set it up:
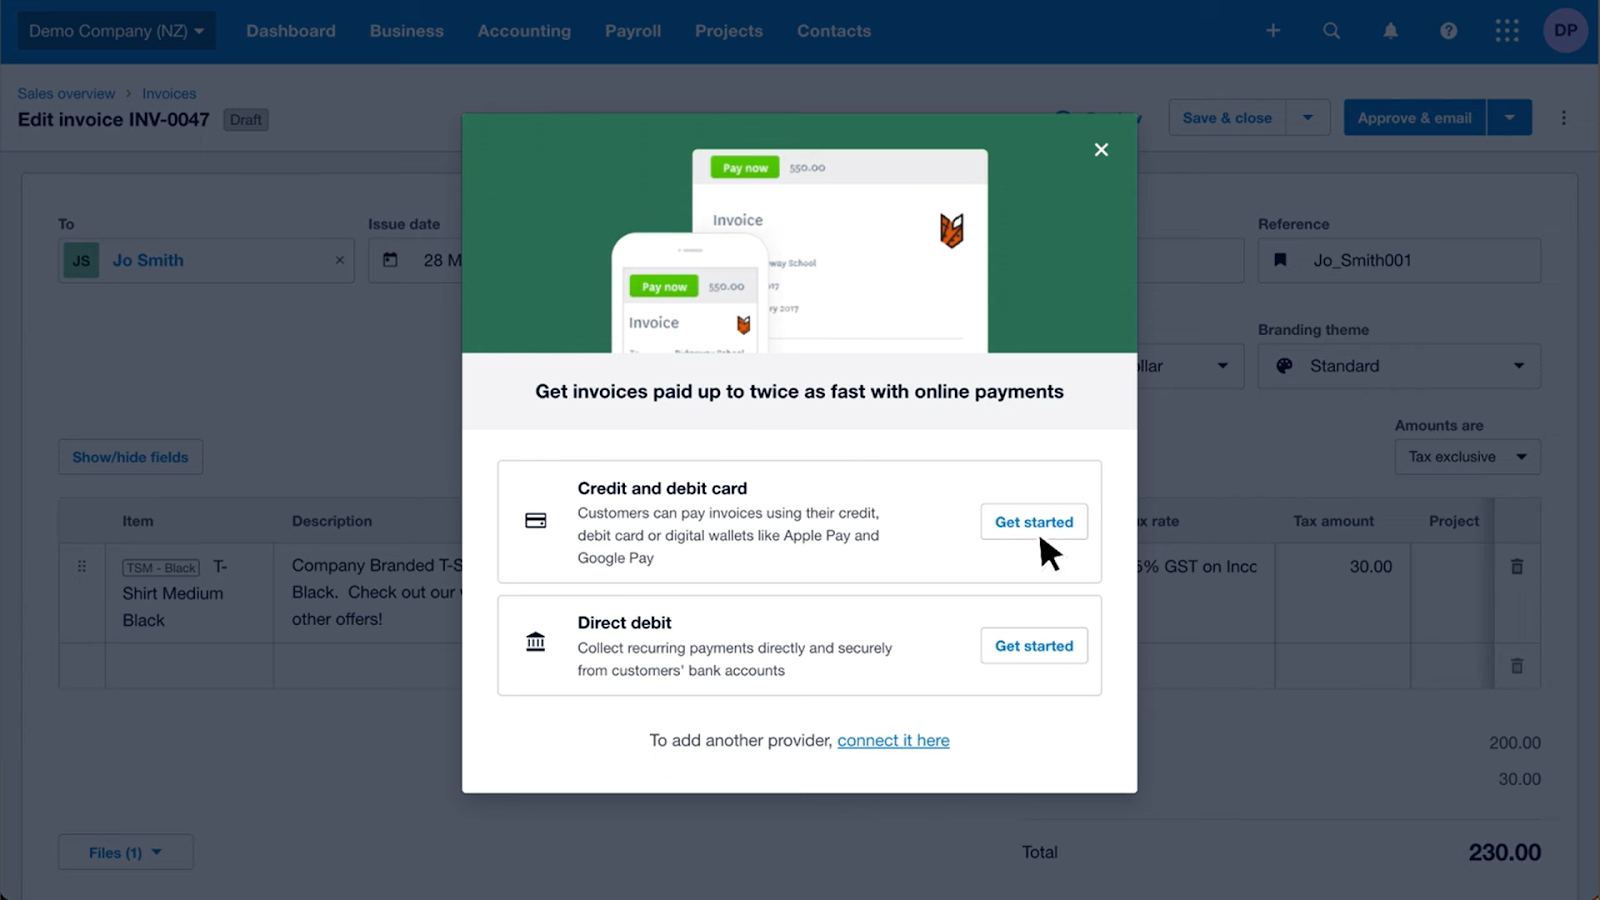
Add a Payment Service
- In the Business menu, select “Online Payments” or go to Settings > Payment services.
- Click “Add new payment service” and choose your provider (e.g., Stripe, PayPal). Follow the prompts to sign up or connect your account.
- If your payment service doesn’t integrate directly with Xero, obtain a custom URL from your provider. This URL allows you to apply the payment service to your invoice template for online payments.
Apply to an Invoice Template
- Go to “Online payments” > “Manage connected services” and select “Manage themes” or “Manage branding themes.”
- Choose the invoice template you want to update and select the payment service provider. Click “Save” to set this as the default payment service for that template.
Apply to a Single Invoice
- Click “Set up online payments” for new invoicing or “Get set up now” for classic invoicing.
- Select the relevant payment service and follow the steps to sign in or connect to your payment provider.
With these steps, you can efficiently create, send, and manage your invoices in Xero and offer convenient payment options to your customers.
How to Pay a Bill/Invoice in Xero
Paying invoices in Xero involves recording payments, managing approvals, and ensuring accurate financial coding.
Here’s a step-by-step guide to streamline your invoice payment process using Xero:
Add and Approve Bills
To handle incoming bills, you need to add and approve them before processing payments.
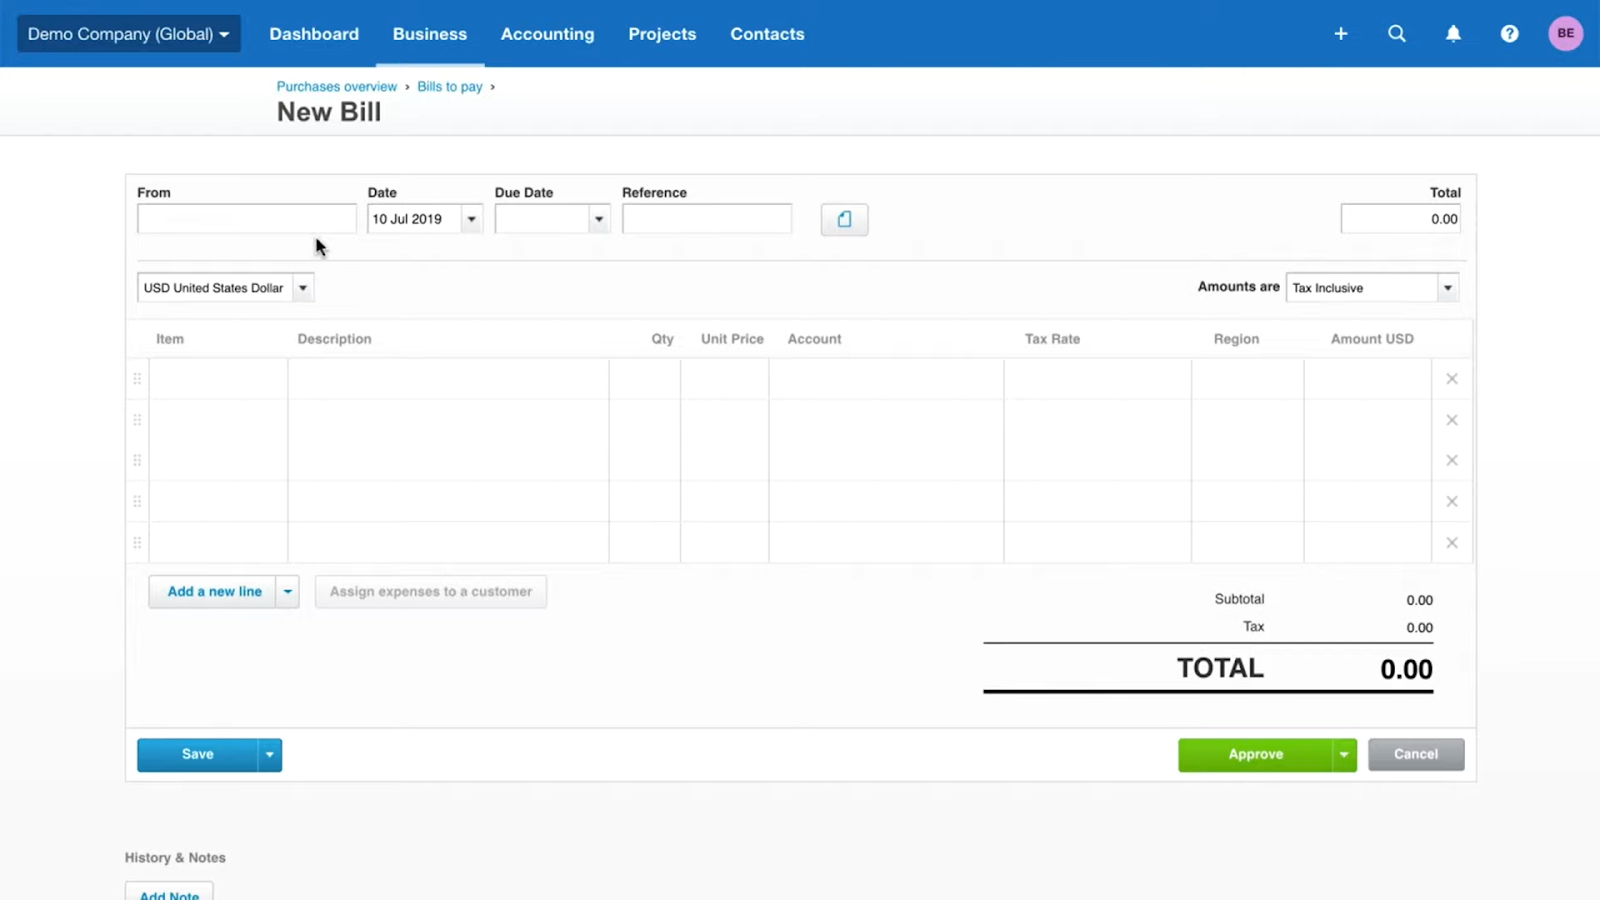
- Go to “Bills to Pay” in the “Business menu” and click “New Bill.”
- Enter necessary details such as supplier information and items.
- Optionally, click the file icon to upload documents related to the bill.
- Save the bill, send it for approval, or approve it yourself.
- To approve draft bills, go to the draft tab.
- Select the bill(s) you want to approve and click approve.
Paying Your Bills in Xero
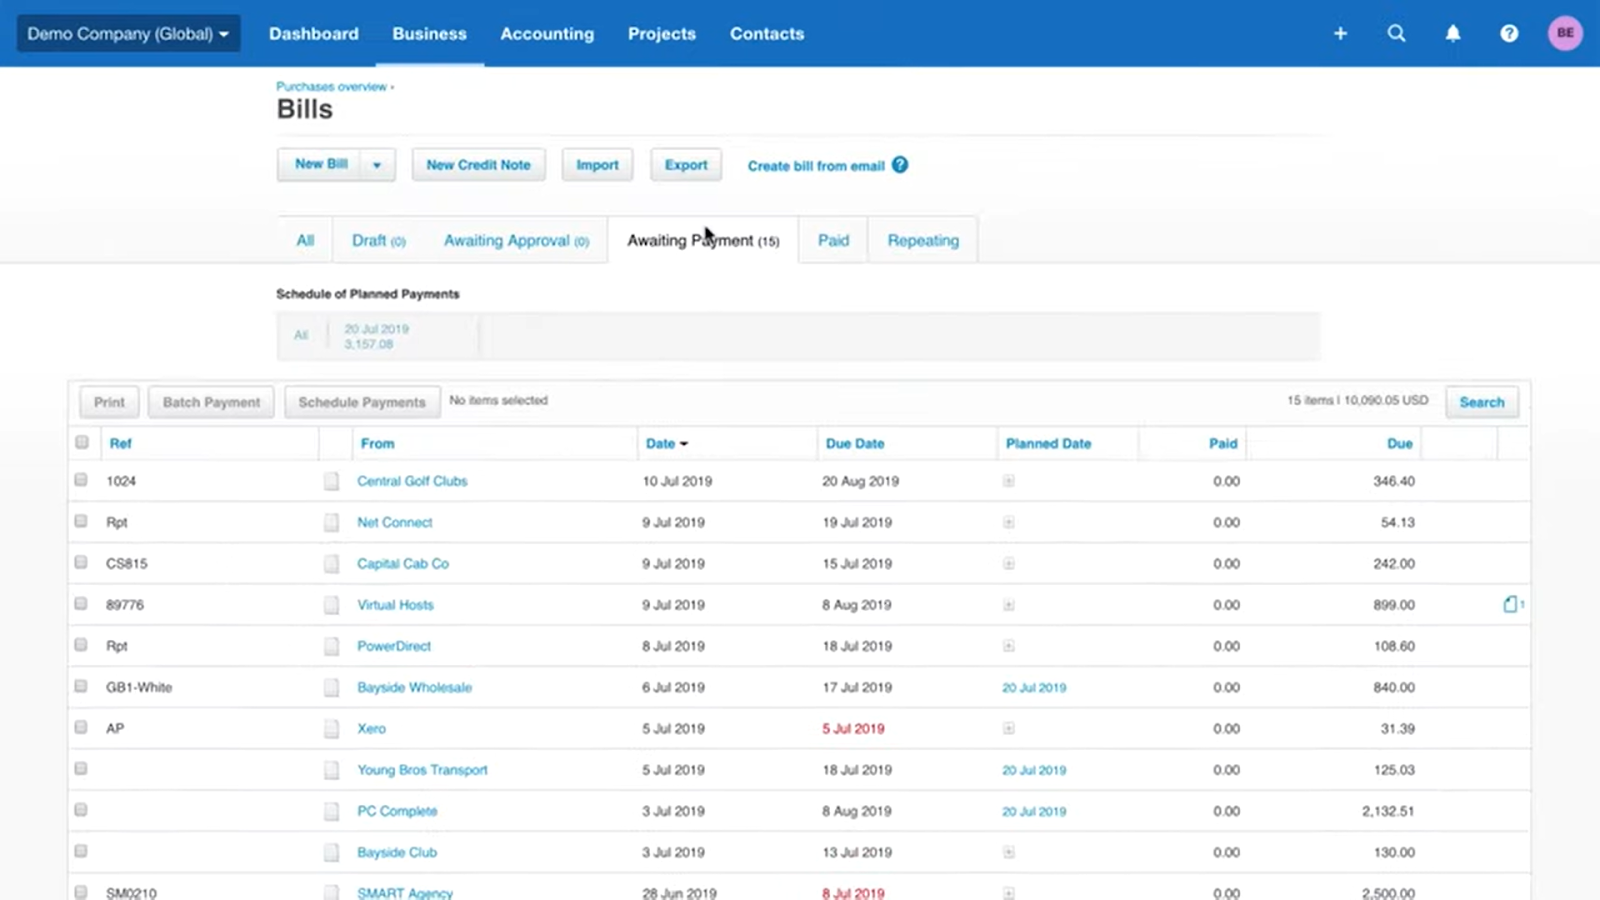
- Go to the “Bills to Pay” section in the business menu.
- Click on the “Awaiting Payment” tab to see all bills that are due for payment.
- Choose the bills you want to pay by selecting the checkboxes next to them.
- If you prefer to consolidate payments, click on “Batch Payment.” Alternatively, you can use Xero’s direct bank transfer via Open Banking.
- After selecting your payment method, you may need to authenticate or confirm the payment.
- Complete any additional steps required by your bank, such as entering payment references or authentication codes.
- Once the payment has been processed, you’ll be redirected back to Xero. To ensure everything is in order, check the paid tab under bills to pay to confirm that the bills have been marked as paid.
Note: If you've made a partial payment, the invoice remains in the awaiting payment tab until it is fully settled.
Pay Multiple Bills
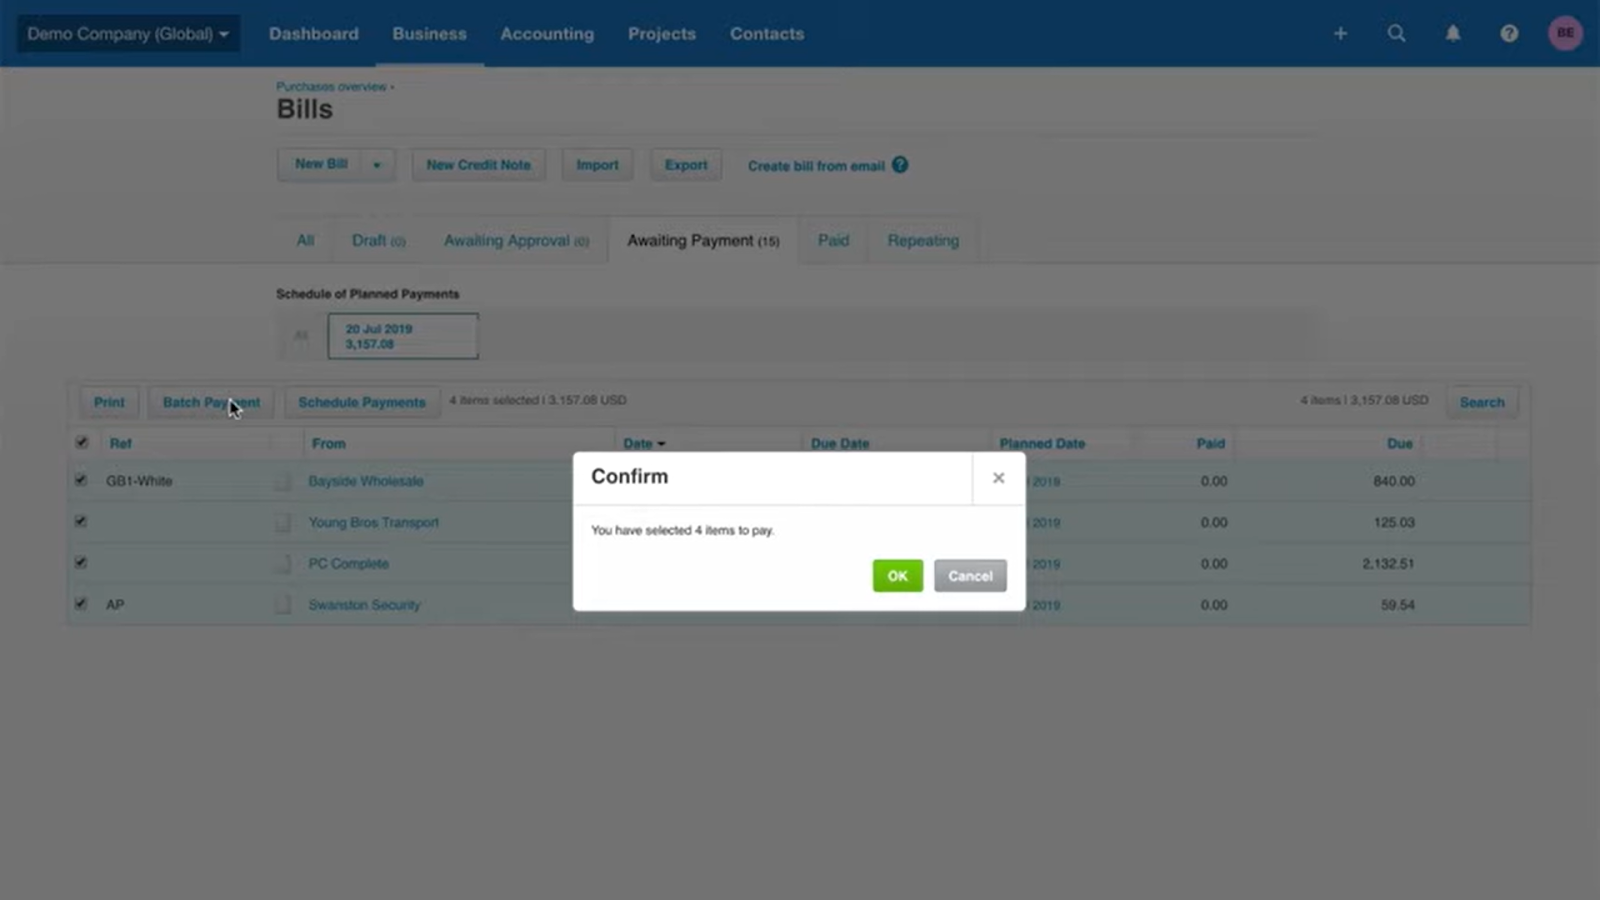
Xero allows you to bundle multiple bills into one payment transaction, simplifying your payment process.
- In “Bills to Pay,” check the boxes next to the bills you want to include in the batch payment.
- Click “Batch Payment”.
- Enter the payment date and select the bank account.
- After reviewing, click “Make Payments.”
- Export the batch file and upload it to your bank.
Automate Invoice Management in Xero for Streamlined Payments
Xero provides a user-friendly platform for managing invoices, simplifying the process of tracking, approving, and paying bills.
However, for teams looking to streamline their processes further, integrating a dedicated accounts payables automation tool like Pluto results in a 67% quicker invoice turnaround time - from upload to payout.
“Every week, we receive 20-30 invoices across our company that need to be processed. Before Pluto, our team would manually input the details of every single invoice, digitize them & send them to approvers via email. This quickly became extremely difficult to manage. With Pluto, we now have all of our invoices in a centralized location for review, processing, and payment.”
With Pluto's advanced automation features, your team can improve invoice management to save 20+ hours per week with automated invoice filings & accounting sync.
Capture Invoices Instantly

Pluto allows you to upload invoices via email forwarding, WhatsApp images, or drag-and-drop directly into the platform. This eliminates the need to manually search for invoices across various sources like emails or physical documents.
Eliminate Manual Data Entry

With Pluto’s OCR technology, you automate the creation and population of bills from invoices. This reduces the need for manual data entry, making it easier to track receipts and invoices in one place.
Multi-Layer Approval Flows

Pluto provides customizable approval workflows that replicate your company’s structure. This feature helps you manage approvals more efficiently, ensuring compliance with your internal policies and reducing reliance on simple email-based approvals.
Each invoice, based on specified triggers, notifies the relevant stakeholders. They can easily approve, discuss, and do two -/ three-way matches from the web or mobile app.
Quick Month-End Close
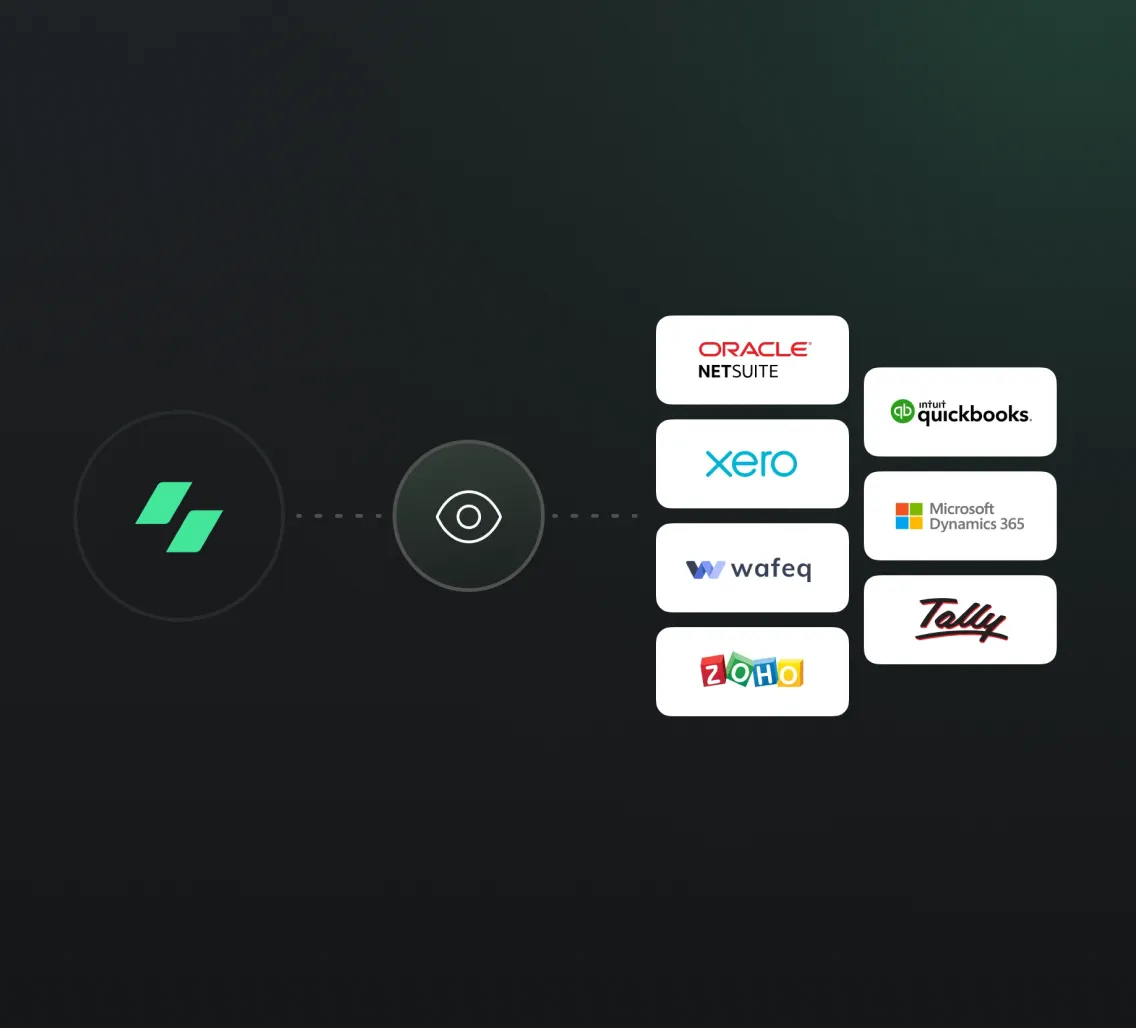
Pluto integrates with Xero and other accounting platforms to sync invoices directly with your chart of accounts and tax codes. This streamlines GL reconciliation and speeds up month-end closing processes.
Automated Vendor List Sync
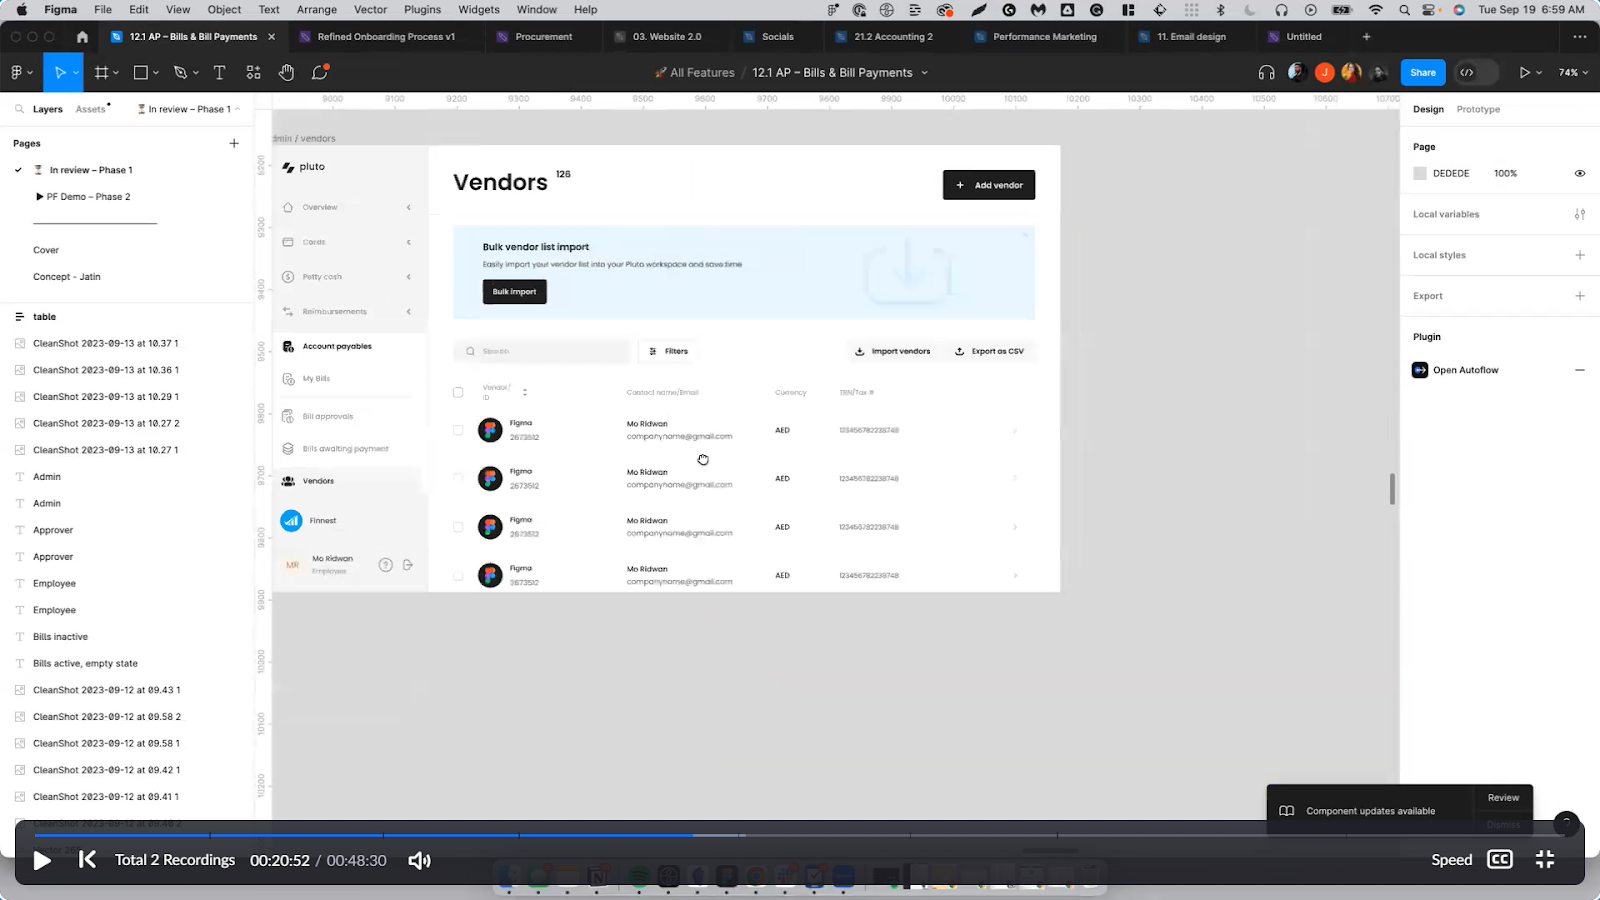
Pluto keeps vendor lists synchronized across platforms, facilitating bulk import and export of vendor information between your ERP system and Pluto. This ensures accurate and up-to-date vendor records.
Manage Cash Flow
Set alerts for upcoming payments or schedule them in advance based on your financial schedule. Pluto provides a real-time overview of your payments, helping you avoid late fees and manage cash flow effectively.
Real-Time Reporting & Analytics

Gain insights into your accounts payable with Pluto’s real-time reporting and analytics. This helps you monitor budgets, manage expenses, and make informed financial decisions.
Enhance Your Xero Experience with Pluto
Xero is excellent for managing payments, but as your team grows, adding tools like Pluto enhances your accounts payable workflow.
Pluto automates invoice capture, reduces manual data entry, and simplifies approval processes. It also syncs with your accounting software for efficient GL and tax code reconciliation.
Book a demo today to see how Pluto can streamline your accounts payable.


